
Essential Roof Maintenance Tips to Get Your Home Ready for Winter
Why Winter Roof Preparation is Crucial
Winter is indeed a very harsh season for roofs. The amasses of snow, ice dams, changing temperatures, and fierce winds can all damage your roofing system. Otherwise, minor issues can snowball when winter sets in. Cracked shingles, clogged gutters, and attics with poor insulation can lead to issues with roofing leaks, water damage, mold buildups, and more costly repairs. The solution is to have proactive roof maintenance.
Here are the essentials for preparing your roof for winter.
1. Inspect the Roof Thoroughly
The first and most important preparation for the roof of winter is a thorough roof inspection. Whether you have it checked by an expert or do it yourself, it’s always best to inspect every nook and cranny of your roof for damage. Here’s what to look for:
- Shingles: Checking the shingles for missing or curled shingles. Damaged shingles allow winter snow to pass through the roof. If a large area of the shingles are damaged, it’s time to replace the roof.
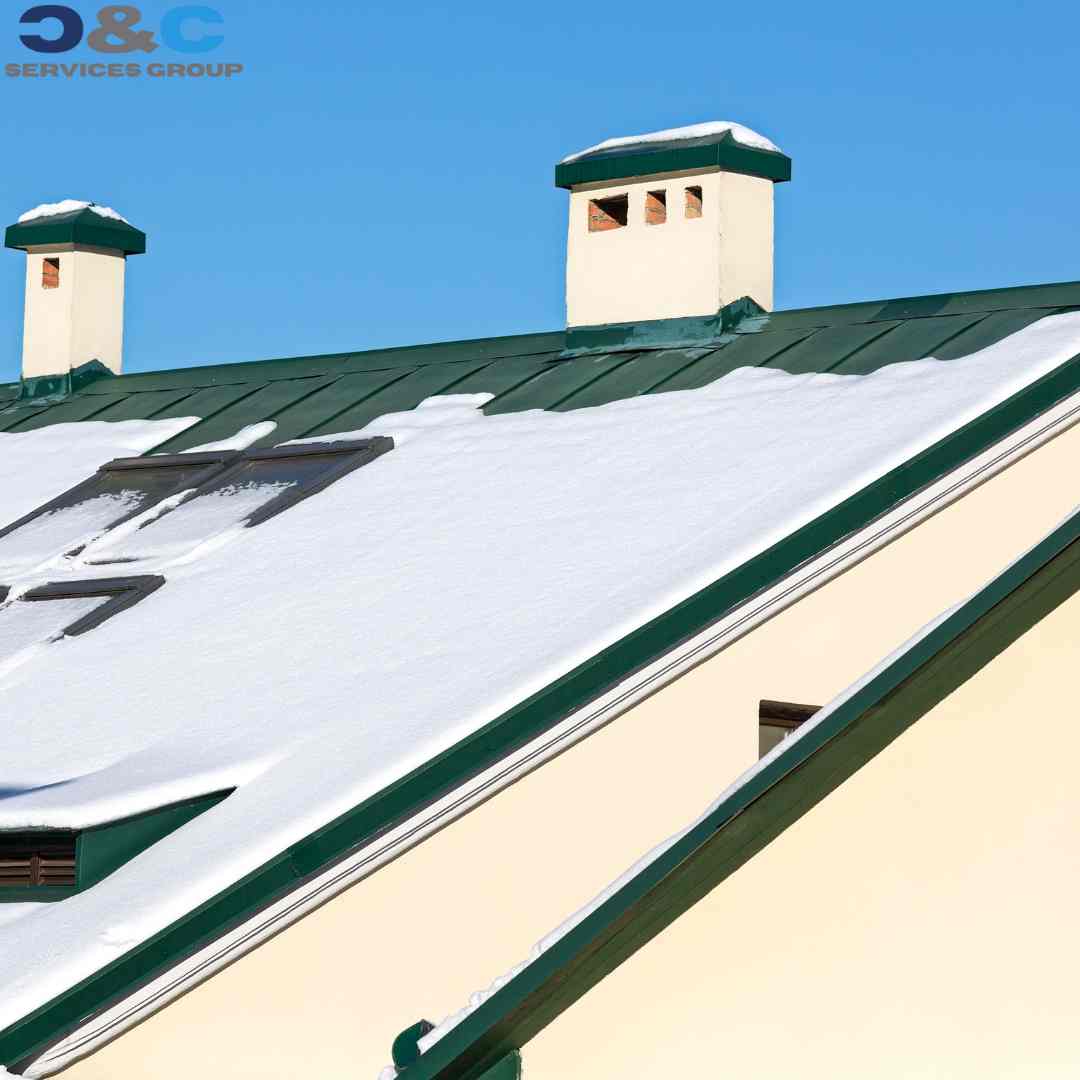
- Flashing: Flashing Around Chimneys, Vents, Skylights Flashing should be in good condition as these are areas through which water can easily pass into your home. Loose and damaged flashing can result in leaks, so it’s important to seal them well.
- Roof valleys: This is the area where two roof planes come together and likely to leak as water runs into the valleys. Be sure that these areas are good and free from debris.
- Roof ventilation: Make sure you have adequate ventilation to prevent ice dams forming and to maintain an equilibrium temperature in your attic. Check your roof vents for blockages by debris or insulation.
After the inspection, make a list of any necessary repairs, and address them before the winter season sets in.
2. Clean the Gutters and Downspouts
One of the most significant reasons for roof damage during winter is clogged gutters. When gutters and downspouts are filled with such stuff as leaf litter, twigs, and so on, water cannot flow away from the roof properly. It can easily lead to the formation of ‘water pooling’ on the roof, thus enhancing the likelihood of leaks and ice dams.
Why is this important?
- Ice dams: As water is collecting on your roof and freezing into a layer of ice, it can cause the water behind it to back up under the shingles and leak into your home.
- Added weight: Wet leaves and ice contribute an awful lot to a gutter system, which may be in enough sag or pull away from the roof, exacerbating further damage.
How to clean your gutters:
- Use a ladder to carefully take out the debris in gutters either by hand or with the help of a gutter scoop.
- Flush the gutters and downspouts with a garden hose, so water flows freely without clogging.
- Install gutter guards to prevent future debris entry.
Cleaning gutters should be seen at least twice a year, i.e., once during spring and another in fall. That will ensure the effectiveness of roof drainage before winter hits and will reduce ice-related damages.
3. Trim Overhanging Tree Branches
Trees with drooping limbs can be quite hazardous to your roof during winter. The weight of the snow and ice can cause the branches to break when they land on the ground; such a fall can further break your shingles or make holes in the roof. Moreover, the falling leaves can clog your gutters and compound drainage issues.
Benefits of trimming trees:
- Reduces debris: You lower the amount of falling leaves that hit the roof as well as the gutters by cutting back the trees.
- Prevents damage: In case the ice-laden branches break and fall upon the roof, it causes structural damage. That can be avoided by advance cutting of those branches.
- Promotes sunlight: Melting more snow and ice will be significantly facilitated by the increased amount of sun that reaches your roof, thus reducing the chances of ice dams.
Trim Low-Hanging Branches Over Your Roof. You should maintain a distance of at least six feet from your roof to the branches so that you don’t cause future problems.
4. Check for Attic Insulation and Ventilation
Insulation and ventilation are seen as a vital health check for your roof during winter. Poor insulation or poor ventilation leads to the accumulation of heat in attics, causing the snow on your roof to melt and immediately freeze into ice, thus creating ice dams.
Why insulation and ventilation matter:
- Prevent ice dams: A consistent temperature between inside of your roof and outside will keep the snow from melting and then freezing again at the edges of your roof.
- Energy efficiency: This attic well-insulated will prevent loss of heat in your house; this can really cut the energy cost especially in winter
- Moisture control: Proper ventilation will remove excess moisture from the attic thus preventing mold growth and wood rot.
How to ensure proper insulation and ventilation:
- Insulate your attic. You want to have a minimum of 10 to 14 inches of insulation to avoid heat escape .
- Make sure and clean all roof vents from debris. If you need it, add more vents, as they can contribute to good air flow and help bring down the heat.
If you are not sure if your attic is insulated and well ventilated, consult an expert. Proper insulation and ventilation of your attic mean you will protect your roof and your house in general from energy inefficiency.
5. Install Snow Guards or Roof Heating Cables
If you live in an area prone to heavy snowfall, snow guards and roof heating cables can be a valuable investment for protecting your roof.
- Snow guards: These are small barriers installed on your roof that prevent large amounts of snow from sliding off all at once, which can damage gutters, landscaping, and even cause injuries.
- Roof heating cables: Installed along the roof’s edge, these cables help to melt snow and prevent ice dams from forming. They can be particularly useful in areas with poor insulation or where ice dams are a recurring problem.
Both snow guards and roof heating cables are relatively easy to install and can provide significant protection for your roof during winter.
6. Inspect and Repair Chimney Flashing
Chimney flashing refers to the material which fills up the gap between your chimney and your roof to prevent water from penetrating inside your house. In due course of time, flashing may crack, corrode or get detached, allowing water to pour into the interior of your house.
How to check chimney flashing:
- Observe the gaps, cracks, or worn-out parts in the flashing areas around your chimney.
- In case you find any damage, always seal with roofing cement or even replace the flashing completely if it is damaged completely.
Leaking water can cause sufficient damage both to your roof and home interior if leaks are caused by unmaintained chimney flashing.
7. Fix Loose or Missing Shingles
Loose or missing shingles are a common issue that can quickly escalate during winter. If left unattended, missing shingles create an entry point for water, which can freeze and expand, causing further damage to the roof structure.
How to repair or replace shingles:
- If you notice a few loose or missing shingles, you can easily replace them by removing the damaged shingle and nailing a new one in place. Be sure to seal the edges with roofing cement.
- For widespread shingle damage, it’s best to consult a roofing professional to assess whether a roof replacement is necessary.
By addressing shingle issues before winter, you can prevent water infiltration and minimize the risk of further damage during the colder months.
8. Seal Roof Penetrations
Any area where something penetrates your roof—whether it’s a vent pipe, satellite dish, or skylight—represents a potential point for leaks. These areas are particularly vulnerable during winter when water can seep in, freeze, and expand, causing cracks.
How to seal roof penetrations:
- Inspect the areas around vents, skylights, and other roof penetrations for cracks or gaps.
- Use a high-quality sealant or roofing cement to seal any gaps and prevent water infiltration.
Regularly checking and sealing these vulnerable points will help protect your roof from leaks throughout the winter season.
9. Perform Preventative Roof Repairs
Even if everything seems fine with your roof, there could be minor issues that go unattended and continue to progress throughout winter. It is advisable to conduct preventative roof repairs before winter is here.
Common preventative repairs:
- Tightening loose shingles: Ensure all shingles are fixed securely in their position to prevent them from being ripped off by powerful winds or heavy snowfall.
- Sealing cracks: Observe your roof materials to detect minute cracks or cracks and seal them.
- Repairing flashing: Flashing must be tight and sealed around chimneys, skylights, and vents.
Taking care of these small issues now can save you from much bigger problems later on.
10. Hire a Professional Roof Inspection
Last but not least, if you are not sure of your roof’s condition or you just want to be all set for winter then hiring a professional roof contractor to inspect and make repairs to your roof is always a good call. Professional roofers can point out issues that may not be clearly seen with the naked eye and make the necessary corrections that will protect your house.
Conclusion
Winterizing your roof is an absolute must for ensuring the safety and stability of your home. Use these maintenance tips to ensure your roof remains in its best shape during the long winter months, minimizing leaks and ice dams and costly repairs. Whether you take on the task yourself or hire a pro, proactive roof maintenance is the only way to stay warm and dry this winter.
Be prepared, act early, and know you have peace of mind knowing your roof is ready to stand a winter.